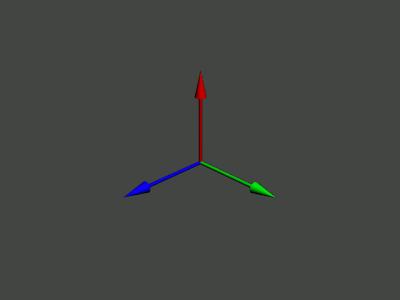
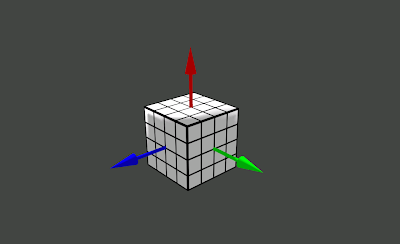
First off, it's not a very complex system. I use the .fbx mesh (three arrows) simply for the visual representation of the axis. The actual magic happens in an invisible level, using Rays and BoundingBoxes.

Every axis (arrow) has a boundingbox roughly the size of the arrow itself. Called something like "BoundingBoxY" or just anything that would make sense for an upward pointing boundingbox.
Whenever I try to select the gizmo with my mouse (left-button) it will check whether it's active, if that's true, it will cast a ray to see which BB is hit, if any.
At this point you will probably see where I am going...Holding the mouse down and calculating the Delta of the X and/or Y mouse axis, you simply add these values to the position of you selected object (Don't forget to update the position of your gizmo)
I really hope this will help you towards creating your own Gizmo. If you remain with any questions, please ask in the comments below.

I can't give any particular Code Snippets yet, as it's a WIP. It's still unoptimized(but working) code. If I happen to finish the code completely I will post a sample somewhere so people can use/learn from it.
Gizmo seems awesome. Can you please write an article how one can make their own Gizmo's, it would be a great help or a sample code would work?
ReplyDeleteThanks a lot in advance.
Hi Jimmy, thanks for your comment. I will think about releasing a sample, if time permits :)
ReplyDeleteHi, it would be really helpful if you do release the code! I am trying to make one just like it but I cant get it to work!! Even just a snippet on how to work out and use the mouse delta would be awesome!!
ReplyDelete